
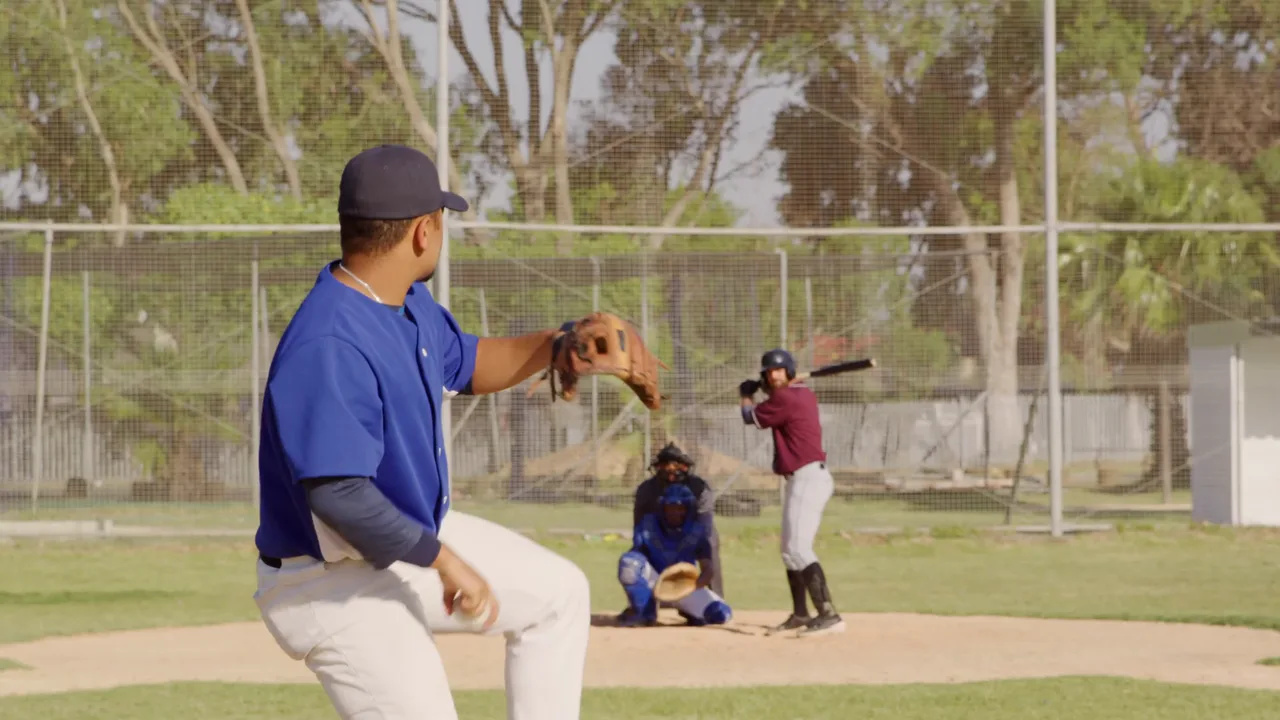
A video analysis app for baseball coaches should make feedback faster, not turn every cage session or bullpen into an editing project.
The useful workflow is simple: record one rep, find the moment that matters, show the player one visible difference, and let the next rep test the correction. An iPhone or iPad can handle the entire review when the app gives you the right capture, playback, comparison, and organization tools.
This guide shows how to build that workflow for both hitting and pitching with KineVision.
What baseball coaches need from a video analysis app
Baseball movements happen too quickly for memory alone. Video gives you a shared reference, but only if you can reach the useful frame while the rep is still fresh.
Look for an app that lets you:
- record or import video on the device you already carry
- review the clip in slow motion and frame by frame
- draw lines, arrows, circles, and angles on key positions
- compare two reps side by side
- assign clips to players and organize them with teams and tags
- export ordinary video files for feedback and sharing
- analyze locally without waiting for a mandatory upload
KineVision is built around that kind of on-field workflow. The baseball video analysis app runs natively on iPhone and iPad, so you can move from capture to feedback during the same round rather than saving every review for later.
Keep the review attached to the rep. When a player can see the relevant frame and immediately try the correction, video becomes part of practice instead of post-practice homework.
Set up a repeatable recording station
Good analysis begins before you press record. The goal is not cinematic footage. It is a clear, consistent view that makes one rep easy to compare with the next.
Stabilize the camera
Use a tripod, fence mount, or another stable support whenever possible. Keep the full movement in frame, including the player's feet and the space needed to finish the swing or delivery. Avoid digital zoom because it makes framing harder to repeat.
Choose one useful angle
For hitting, a side view can make stride, posture, sequencing, contact position, and finish easier to review. A view from behind the plate or behind the hitter can add context for direction and bat path. Pick the angle that best reveals the question you are coaching.
For pitching, an open-side view can show the full delivery from leg lift through follow-through. A rear view can help you discuss direction toward the plate. Always place the device outside the field of play and protect both the camera and the person recording.
Keep the camera height, distance, and position consistent between reps so side-by-side comparison stays useful.
Protect motion clarity
Use enough frame rate and shutter speed to keep the bat, throwing arm, and lower body readable when you pause the clip. For a deeper setup checklist, follow the iPhone and iPad camera protocol for sports video analysis.
Assign the player before recording
If several players rotate through a cage or bullpen, assign the athlete in KineVision before capture. Use tags such as game, bullpen, front toss, or tee work to make related clips easier to retrieve later.
A four-step hitting video workflow
Hitting analysis works best when you separate observation from correction. Use the same four steps for each player.
1. Watch the swing at full speed
Start with rhythm and the overall result. Do not draw or scrub yet. Ask one question: what is the most important visible pattern in this swing?
You may be looking at balance, timing, posture, direction, or how the hitter moves into contact. Choose one coaching priority rather than building a list of every difference you can find.
2. Find the key frames
Move through the swing frame by frame and stop at the positions that answer your question. Useful checkpoints can include:
- setup
- load
- stride or launch
- contact
- finish
These are checkpoints, not a universal model. Use them to locate where the pattern becomes visible.
3. Mark only what supports the cue
Use a line, arrow, circle, or angle to direct the player's attention. If the discussion is about posture, one reference line may be enough. If it is about direction, an arrow can make the intended path clearer.
Too many annotations weaken the feedback. The player should understand the image in a few seconds.
4. Compare the next rep
Record another swing after the cue and place the two clips side by side. Match them at the same event, such as stride landing or contact, then look for the specific change you requested.
The best reference is often the player's own better rep because it keeps the feedback individual.
A four-step pitching video workflow
Use the same basic process in the bullpen, with checkpoints that fit the delivery.
1. Review the complete delivery first
Watch from first movement through follow-through at full speed. Look for the main pattern affecting the current coaching goal. Video should support your coaching observation, not create a diagnosis from one delivery.
2. Inspect the relevant sequence
Depending on the goal, useful frames may include:
- leg lift
- move toward the plate
- foot strike
- ball release
- follow-through
Frame-by-frame playback helps you discuss the order of visible events. It does not turn a two-dimensional clip into a complete measurement of pitching forces or injury risk.
3. Compare like with like
Compare deliveries recorded at a similar intensity, from the same camera position, and preferably in the same drill context. Align the clips at one shared event before judging timing differences.
When the setup changes, the video may show camera variation rather than a mechanical change. Consistent capture makes the coaching conclusion easier to trust.
4. Give one correction and retest it
End the review with one cue the pitcher can use on the next delivery. Record again, return to the same checkpoint, and ask whether the intended change is visible.
One clip, one question, one next rep. A short review with a clear purpose is usually more useful than a long breakdown between every pitch or swing.
How to fit video into a busy practice
Video analysis should not stop the line. A practical station can run in a compact cycle:
- Record two or three reps.
- Select one representative clip.
- Watch it once at full speed.
- Show one key frame or side-by-side difference.
- Give one cue.
- Record the next rep and check the result.
If you want a broader framework for recording and explaining clips, read how to make better coaching videos.
Build a useful season-long video library
The value of baseball video grows when you can find the right clip later. Organize footage around questions you expect to ask again.
For example, you might tag hitting clips by drill or focus:
- tee work
- front toss
- live at-bat
- timing
- posture
Pitching clips might use:
- flat ground
- bullpen
- game
- direction
- tempo
You can then compare a current rep with an earlier clip from a similar context. This is more meaningful than comparing two videos recorded from different angles, at different intensities, or in unrelated drills.
KineVision's teams, athletes, and tags keep those clips connected to the player. Standard video export and iOS sharing let you send finished feedback through the channel your athletes or parents already use.
Common baseball video analysis mistakes
Reviewing every rep
Constant review interrupts rhythm and can overload the player. Capture enough attempts to find a representative pattern, then choose the clip that best supports the current coaching goal.
Starting in slow motion
Slow motion reveals positions, but full-speed playback shows rhythm and intent. Watch normal speed first, then inspect the frames.
Comparing mismatched clips
Different camera angles, zoom levels, and drill intensities can create misleading differences. Standardize capture before making a comparison.
Giving five cues from one video
Video makes many differences visible at once. That does not mean the player can change all of them on the next rep. Select the correction with the clearest connection to the current task.
Treating an overlay as a diagnosis
Lines, angles, and a 2D skeleton can help communicate visible movement. They do not replace qualified medical assessment or laboratory biomechanics. Use the tools to make coaching feedback clearer and stay within the limits of ordinary two-dimensional video.
Turn the next rep into the test
The best video workflow does not end with an annotated clip. It ends with a better question for the next rep.
Record consistently. Watch at full speed. Find the key frame. Compare against the player's own useful reference. Give one correction, then test it immediately.
That is what a video analysis app for baseball coaches should make easier. KineVision gives you that workflow on iPhone and iPad with recording, slow motion, frame-by-frame review, drawing tools, side-by-side comparison, athlete organization, and standard export. You can compare plans and start free when you are ready to use it at your next practice.
Ready to get started? Download KineVision today from the App Store and rediscover the power of professional video analysis.
Comparing coaching apps? See KineVision vs OnForm, KineVision vs Coach's Eye, KineVision vs Dartfish, or KineVision vs CoachNow.